Tesseral Quickstart
Sign up for Tesseral
Go to https://console.tesseral.com and sign up.
When you sign up, Tesseral will automatically create a Tesseral Project for you. This project is called “Sandbox.”
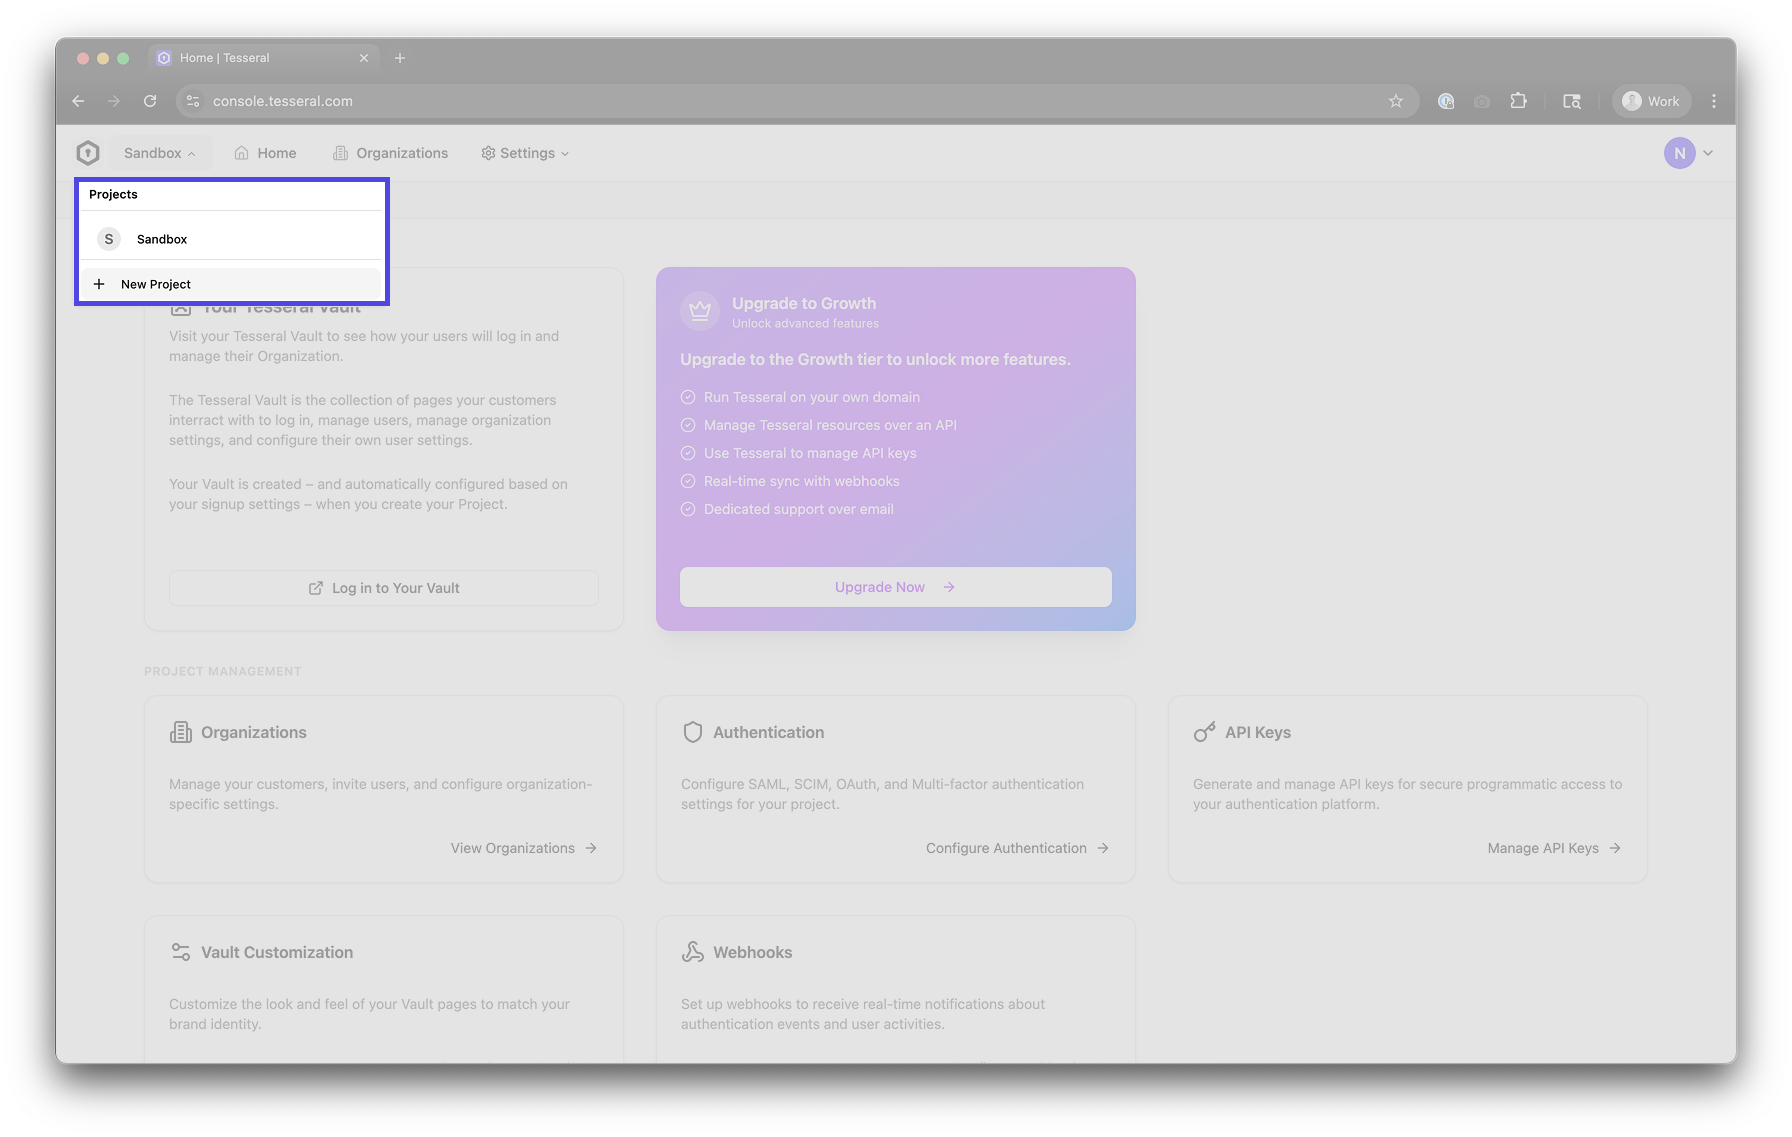
You’ll be logged into your Sandbox Project. You can switch between Projects or creat a new Project using the Project Switcher at the top left of the Console.
Add Tesseral to your clientside code
Tesseral’s React SDK handles redirecting users to your login page, giving your
React code hooks like useUser() or useLogout(), and having your frontend
automatically send authentication information in its requests to your server.
Get your publishable key
Go to https://console.tesseral.com/settings/api-keys and click on “Create” under “Publishable Keys”. Make sure to enable “Cross Domain Mode” on the publishable key.
You’ll need the ID of your new publishable key for the next step. It starts with
publishable_key_....
Add TesseralProvider to your app
Find your clientside React root, and add TesseralProvider there, with the
publishable key ID from the previous step as the publishableKey prop:
Now, when you visit your webapp, your customers will automatically be redirected to a Tesseral-hosted login flow if they’re not already logged in.
Add Tesseral to your serverside code
Tesseral provides SDKs for Express.js, Next.js, Flask, FastAPI, Django, Axum, and Golang. You’ll need the Publishable Key you created previously.
Express.js
Flask
Go
Install the Tesseral Express.js SDK by running:
And then add requireAuth() to your Express app:
Replace publishable_key_... with the same publishable key you used for your
frontend.
All requests to your backend are now server-side authenticated. Anywhere in your
code where you need to know which customer you’re talking to, you can use
organizationId():
For more documentation, check out the Tesseral Express.js SDK docs.
Going to Production
In the previous two sections, you added authentication to your frontend and backend. Both of these were running on localhost. To go to production, you need to create a new production Project (i.e., not your sandbox Project). Then, you need to:
-
Use publishable keys for your production Project, instead of the publishable keys for your sandbox Project that you’ve used so far. This is the only code change you need to make.
-
Go into the Tesseral Console, and configure a custom domain for your production Project’s Vault. Right now, your production Project uses a Tesseral-assigned URL that looks like
project-[...].tesseral.app.In production, we recommend you use a domain you control instead of a domain Tesseral provides for you. We recommend you use a domain that looks like
vault.app.company.comorvault.company.com, depending on whether you useapp.company.comorcompany.comas your App Production URL.
Here is how you configure a custom domain for your Project’s Vault:
-
Go to the Tesseral Console. Click on the Project Switcher at the top left, and click on your production Project (it’s the one whose name doesn’t end in “Dev”).
-
Go to Project Settings, and then the “Vault Domain Settings” tab. Click on “Edit”, and under “Custom Vault Domain” you’ll input
vault.XXX, whereXXXis the domain of your App Production URL that you used in “Sign up for Tesseral” above.For example, if you used
https://app.company.com, then usevault.app.company.comas your production Project’s Vault Domain.If instead you used
https://company.com(noapp.orconsole.ordashboard.-like subdomain), then usevault.company.comas your production Project’s Vault Domain. -
You’ll now get a set of DNS records you need to set up. Create those DNS records. Once those records are all correct and widely propagated, you can enable your Custom Vault Domain.
Now, when your customers are redirected to their login page, they’ll see
vault.app.company.com. You can also Customize the look here
to make the experience seamless with your company’s brand.